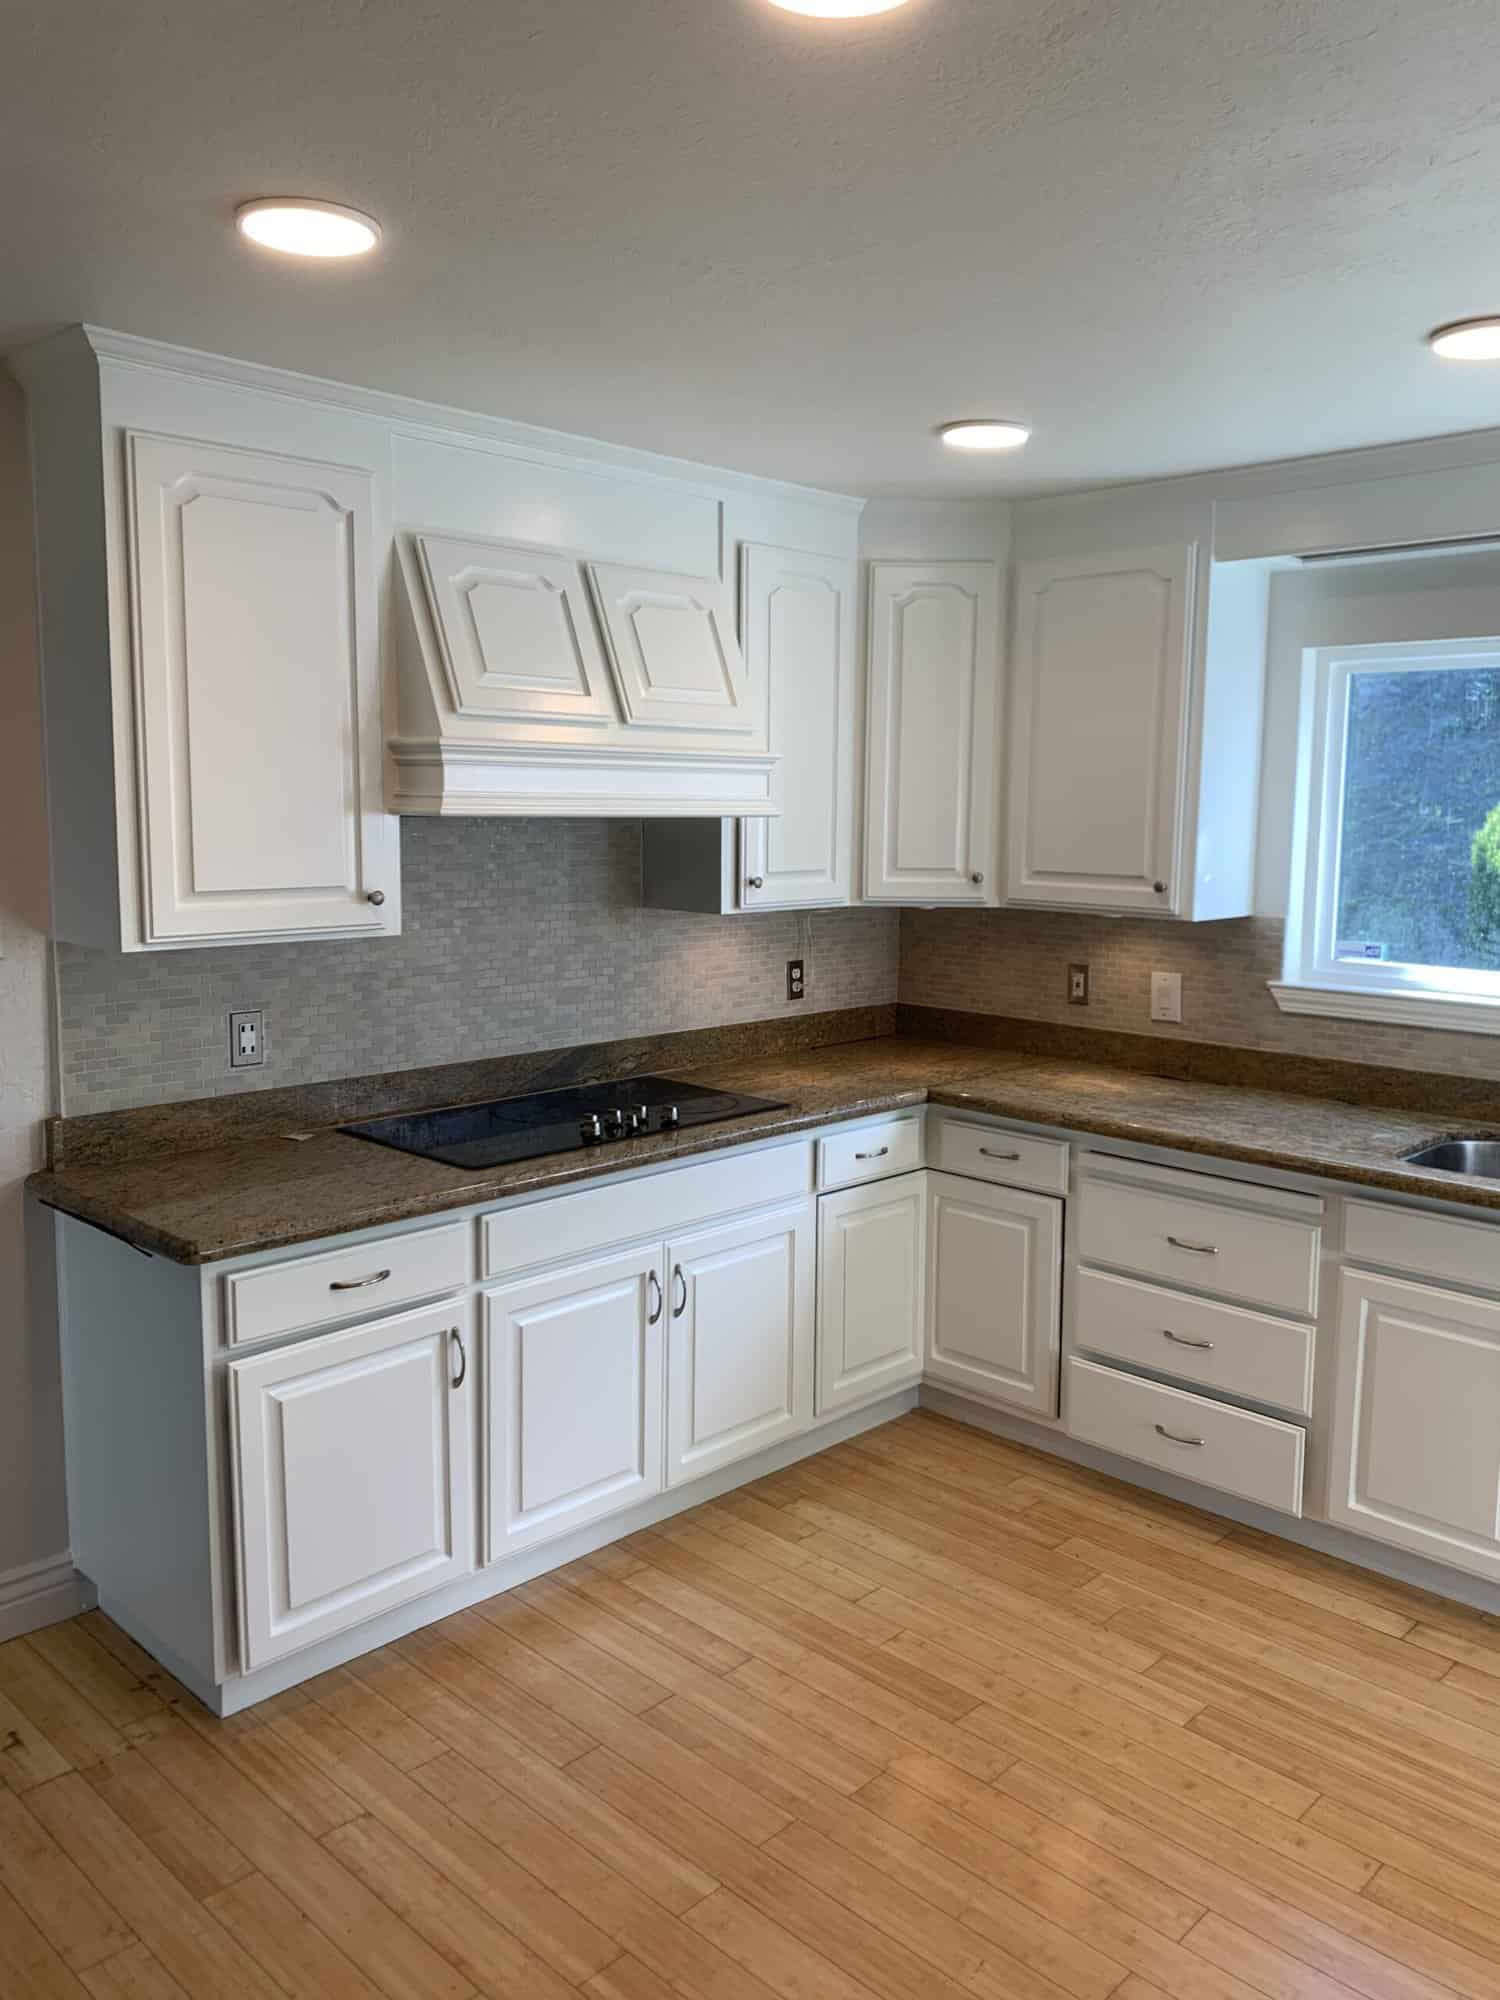
Painted cabinets add beauty and personality to any kitchen or bathroom, but without proper care, they can become dull, greasy, or chipped. Many homeowners worry about damaging the paint while cleaning, making it essential to use the right techniques and products. This guide will walk you through the best practices for keeping your cabinets spotless and in top condition.
Why Proper Cabinet Cleaning Matters
Over time, painted cabinets accumulate grease, dust, and moisture, leading to discoloration and wear. Regular cleaning helps preserve their look and longevity while preventing costly repairs or repainting.
This guide covers:
- A step-by-step routine for daily, weekly, and monthly maintenance.
- Safe cleaning solutions that won’t damage the paint.
- Mistakes to avoid that could cause chipping or peeling.
- When to call a professional for deep cleaning or refinishing.
Understanding Your Painted Cabinets: What Affects Their Maintenance?
Types of Painted Finishes and Their Cleaning Needs
- Matte or Chalk-Finish Paint – Absorbs grease more easily, requiring gentle cleaning.
- Satin or Eggshell Paint – Provides moderate stain resistance but still needs frequent dusting.
- Semi-Gloss or High-Gloss Paint – Easiest to clean but prone to showing fingerprints and streaks.
Factors That Affect Cabinet Cleanliness
- Cooking Grease & Spills: Kitchens naturally accumulate grease and splatters that stick to painted surfaces.
- Humidity & Moisture: Bathrooms and kitchens have high moisture levels, which can cause paint to bubble or peel.
- Household Dust & Pet Hair: Settles on cabinet surfaces, especially in hard-to-reach corners.
- Cleaning Frequency: Irregular cleaning leads to stubborn buildup, stains, and dull finishes.
Daily Cleaning Routine: Preventing Buildup and Damage
Goal: Remove dust, fingerprints, and fresh spills before they settle in.
Simple Steps for Daily Maintenance
- Dust Cabinet Surfaces
- Use a dry microfiber cloth to remove dust and debris.
- Pay extra attention to grooves, edges, and hardware.
- Wipe Down High-Touch Areas
- Lightly dampen a soft cloth with warm water and mild dish soap.
- Gently wipe around handles, edges, and door fronts where fingerprints and grease collect.
- Dry with a clean, dry microfiber towel to prevent moisture damage.
- Clean Fresh Spills Immediately
- For food splatters, grease, or sticky spots, use a diluted vinegar solution (1 part vinegar, 2 parts water).
- Avoid soaking the cabinets, as excess moisture can seep into the wood and weaken the paint.
Weekly Cleaning Routine: Deeper Cleaning Without Damaging the Paint
Goal: Remove light grease buildup and maintain cabinet shine.
3.1. Steps for a Weekly Clean-Up
- Wipe Down All Exterior Cabinet Surfaces
- Mix a few drops of mild dish soap with warm water in a spray bottle.
- Lightly mist a microfiber cloth, then wipe down cabinet doors and sides.
- Degrease Problem Areas
- Use a vinegar-water mix or a store-bought cabinet-safe degreaser (like Murphy’s Oil Soap or Simple Green).
- For sticky spots, apply a baking soda paste (1 tbsp baking soda + a few drops of water), let sit for 5 minutes, then wipe clean.
- Clean Cabinet Handles & Hardware
- Dampen a toothbrush with mild soap and scrub around knobs, pulls, and hinges.
- Dry thoroughly to prevent rust or residue buildup.
- Buff Cabinets for a Streak-Free Shine
- Use a dry microfiber cloth to buff the surface after cleaning.
- Optional: Apply a small amount of olive oil and vinegar mix for extra luster.
Monthly Deep Cleaning Routine: Keeping Cabinets Looking Like New
Goal: Remove deep-seated grime, check for damage, and refresh cabinet surfaces.
Steps for a Monthly Deep Clean
- Remove All Items From Cabinets
- Take out plates, cookware, and pantry items.
- Wipe down shelves and interior surfaces with a damp cloth and mild soap.
- Clean Inside Cabinet Doors & Hidden Edges
- Dust off hinges, inner door panels, and cabinet frames.
- For sticky residue, use baking soda paste or diluted vinegar.
- Check for Paint Damage & Touch Up as Needed
- Look for chips, scratches, or peeling paint.
- Use a matching touch-up paint or clear protective finish to fix problem areas.
- Condition & Protect the Paint
- Buff surfaces with a cabinet-safe polish or wood conditioner to enhance durability.
- Avoid silicone-based polishes, as they can cause residue buildup.
- Inspect & Tighten Hinges and Handles
- Tighten any loose screws on knobs, pulls, or hinges.
- Replace any hardware that shows signs of rust or wear.
Common Mistakes to Avoid When Cleaning Painted Cabinets

Harsh Chemicals That Can Damage Cabinet Paint
- Bleach & Ammonia-Based Cleaners – Strips paint and weakens protective coatings.
- Magic Erasers or Abrasive Pads – Can scratch and remove paint layers.
- Glass Cleaners (Windex) – Causes streaks and dulls the finish over time.
- Oil-Based Polish or Waxes – Leaves sticky residue that attracts dust.
Poor Cleaning Habits That Lead to Faster Wear & Tear
Poor cleaning habits can shorten the lifespan of painted cabinets and lead to costly repairs. Using too much water or soaking cabinets may seem harmless, but moisture can seep into cracks, causing swelling and peeling over time.
Skipping regular cleaning allows grease, dust, and stains to build up, making them harder to remove. Over time, this neglect can lead to permanent discoloration and damage. Even after cleaning, forgetting to dry cabinets properly can trap moisture beneath the paint, leading to bubbling or warping.
Scrubbing stubborn spots too aggressively may remove grime, but it also wears down the paint layer, making painted cabinets more vulnerable to chipping and fading. Proper cleaning techniques protect both the finish and durability of your cabinets.
When to Call a Professional for Cabinet Cleaning or Refinishing
Signs It’s Time for Expert Help
- Grease or grime won’t come off even with deep cleaning.
- Paint is peeling, cracking, or showing discoloration.
- Cabinet surfaces feel rough or sticky despite cleaning efforts.
- Visible water damage or swelling.
How a Professional Can Help
- Deep cleaning & degreasing using industry-grade products.
- Refinishing & repainting cabinets for a brand-new look.
- Applying protective coatings to extend cabinet lifespan.
Conclusion: The Key to Long-Lasting, Beautiful Cabinets
Maintaining painted cabinets requires a consistent routine. Daily, dust surfaces and wipe fingerprints or spills. This prevents buildup and keeps cabinets clean.
Weekly, deep clean with a mild soap solution. Remove grease and grime, and scrub hardware to maintain durability.
Monthly, tackle deep-seated grease, inspect hinges, and touch up paint. This prevents long-term damage and preserves the finish.
If painted cabinets show peeling, discoloration, or rough surfaces, professional refinishing can restore their look.
Need expert care? Contact us to keep your cabinets looking fresh.


