If you’re getting ready for an interior house painting project, prepping walls for paint is the first step—and it doesn’t have to take all day. With the right tools and a clear plan, you can get your walls paint-ready in under an hour. Here’s how to do it quickly and correctly.
Key Takeaways:
- Use simple tools like tape, drop cloths, and spackle.
- Protect your space before doing anything else.
- Clean, patch, sand, and prime for best results.
- Avoid common time-wasting mistakes.
- Stick to a checklist to stay on track.
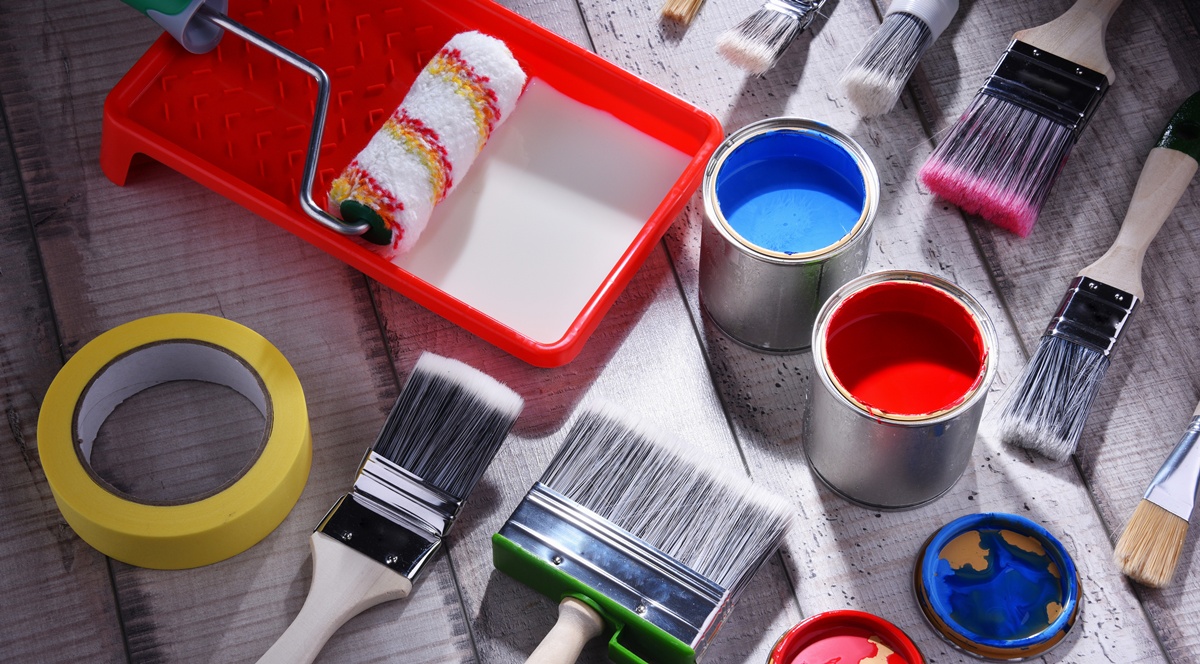
What Tools and Materials Do You Need?
Before you start, gather everything so you’re not wasting time running back and forth. Here’s what you’ll need:
- Drop cloths or plastic sheeting
- Painter’s tape
- Spackling paste and putty knife
- Sandpaper or sanding sponge (medium and fine grit)
- Mild detergent or wall cleaner
- Bucket and sponge
- Primer (if needed)
- Step ladder
Having these on hand helps you stay focused and efficient. You won’t waste time searching for tools or making extra trips to the store, so you can stay in the zone and move from one step to the next without delay.
How Do You Protect Floors and Furniture Fast?
Start by clearing the room as much as possible. Move furniture to the center or out of the room. Then:
- Lay drop cloths over floors and any furniture left behind. This helps catch spills, splatters, and dust while keeping your floors clean.
- Use plastic sheeting for large items like couches or beds that are too heavy to move. It provides full coverage and prevents paint from soaking through.
- Tape the edges to keep them in place, especially around the legs of furniture or corners where fabric can shift. This keeps everything secure while you work.
This takes just a few minutes and keeps paint off your stuff. It also saves you the hassle of cleaning up drips or splatters later, which can be tough to remove from carpets, upholstery, or hardwood floors.

What’s the Best Way to Deal With Holes and Cracks?
Look for nail holes, small dents, or hairline cracks. Follow these steps:
- Scrape away any loose debris. Use a putty knife or scraper to remove flaking paint, dust, or loose plaster around the damaged area. This gives the spackle a clean surface to bond to.
- Apply spackling paste with a putty knife. Scoop a small amount of spackle and press it into the hole or crack, smoothing it out so it’s level with the wall. Feather the edges for a seamless finish.
- Let it dry for 10–15 minutes (quick-dry options help). Dry time may vary depending on the product and depth of the patch, so follow the label instructions for best results.
- Lightly sand until smooth. Once dry, use fine-grit sandpaper or a sanding sponge to gently smooth the surface. This helps the patched spot blend into the wall when painted.
Even small patches make a big difference once the paint goes on. They help create a smooth, flawless surface that makes your final paint job look clean and professional, even if the imperfections were minor to begin with.
Do You Really Need to Clean the Walls?
Yes—and it only takes a few minutes. Paint won’t stick well to dirty surfaces. Here’s what to do:
- Mix a few drops of mild detergent in warm water.
- Wipe down walls with a sponge.
- Focus on high-touch areas like near light switches.
- Let them air dry while you prep other things.
This removes dust, grease, and grime so the paint adheres better. Clean surfaces help the paint go on smoothly and stay put longer, preventing peeling or bubbling down the line.
When and How Should You Sand the Walls?
You don’t have to sand everything, but spot-sanding is smart:
- Smooth out patched areas.
- Lightly scuff any glossy spots.
- Wipe away dust after sanding.
This quick step helps your paint grip better and look smoother. It removes tiny imperfections and gives the wall a slightly rough texture that helps the paint stick evenly and last longer.

Is Priming Always Necessary?
Not always, but if you’re covering stains or painting over a dark color, primer is your best friend. Use a fast-drying primer on:
- Patched areas
- Stained spots
- Glossy surfaces
This adds just a few minutes but makes your final coat look cleaner and last longer. Primer helps cover up problem areas and gives the paint a more even surface to stick to, which means fewer coats and a smoother finish.
What Mistakes Should You Avoid?
Here are a few common mistakes that can slow you down or ruin your finish. Avoiding them will save time and help your paint job look sharp:
- Skipping the cleaning step – Dirt and grease stop paint from sticking, which can lead to peeling or uneven coverage.
- Rushing through patching – If you don’t let spackle dry fully or sand it properly, the patched area will show through the paint.
- Using the wrong kind of tape – Cheap or incorrect painter’s tape can peel paint or leave a sticky residue.
- Not sanding patched spots – Skipping this leaves bumps that will stand out once painted.
- Forgetting to protect floors – Paint splatters are tough to clean up and can permanently damage your flooring.
These mistakes cost more time in the long run—and they’re all easy to avoid. Taking just a few extra minutes to do things right the first time can prevent delays, touch-ups, and frustration later.
How Can You Prep Walls in Under an Hour?
Here’s a simple breakdown you can turn into a quick visual reference. Follow each step in order, and you’ll be prepped and ready in under an hour.
1-Hour Wall Prep Timeline
- Step 1: Gather your tools (5 minutes) – Get everything you need in one spot to avoid wasting time later.
- Step 2: Move and cover furniture (10 minutes) – Shift furniture and protect it with plastic or drop cloths.
- Step 3: Tape baseboards and trim (10 minutes) – Apply painter’s tape to keep your lines clean.
- Step 4: Patch holes (10 minutes) – Fill in nail holes or cracks and let them dry.
- Step 5: Clean walls (10 minutes) – Wipe down surfaces to remove grease and dust.
- Step 6: Sand and prime (15 minutes) – Smooth patched areas and prime where needed.
Stick to this schedule, and your walls will be ready for painting in no time.
Use this timeline to keep your prep fast and stress-free!
Final Thoughts: Prep Like a Pro
Prepping walls for paint doesn’t have to be a long, messy job. With the right tools, a little planning, and some smart time-saving moves, you can be done in under an hour—and ready to roll on that fresh coat of color.
Need help with interior house painting or want it done fast and professionally? Call EAG Painting & Decoration Inc. at 510-851-8860. Our team will get your space paint-ready—and beautiful—in no time.


