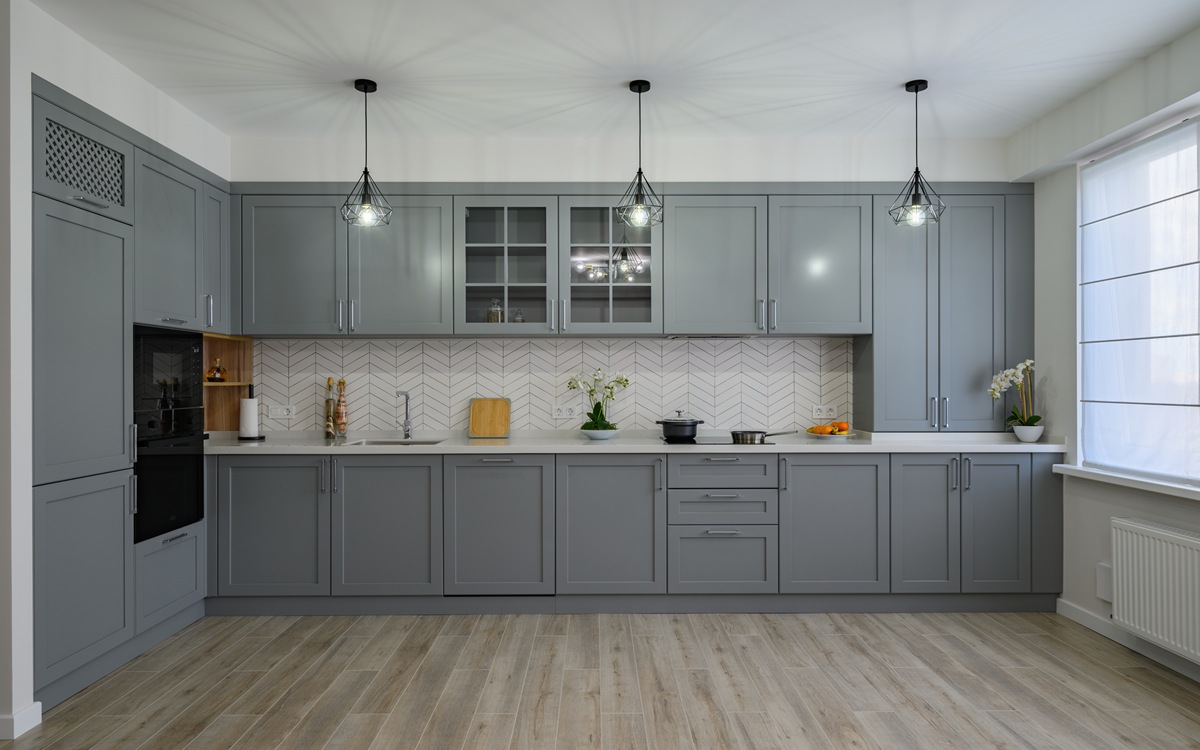
That little chip on your kitchen cabinet started out small. Now, every time you walk into the kitchen, it’s all you can see. You know you need to fix it, but the thought of making things worse keeps you stuck.
What if the paint doesn’t match? What if you leave brush marks everywhere? What if you end up with a bigger problem than when you started?
Here’s the good news: professional cabinet painters deal with touch-ups all the time, and the techniques they use aren’t complicated.
Learning how to touch up cabinet paint the right way comes down to preparation, the right tools, and a little patience. When you follow a proven process, you can fix those chips and scratches without turning your kitchen into a construction zone.
Key Takeaways:
- Clean and lightly sand the damaged area before applying any paint.
- Use the exact same paint formula and sheen as the original finish.
- Apply thin coats with a small brush or foam applicator rather than one thick coat.
- Allow proper drying time between coats (at least 2-4 hours).
- Feather the edges of your touch-up to blend with the surrounding area.
- Know when a touch-up won’t cut it and a full refinish is the better choice.

Why Cabinet Paint Chips in the First Place
Before you grab a brush, it helps to understand why your cabinets got damaged. Cabinets take a beating. They get bumped by pots and pans. Kids swing on the doors. Grease and moisture from cooking wear down the finish over time.
The most common causes of cabinet paint damage include:
- Impact from cookware, dishes, or appliances
- Moisture exposure near the sink or dishwasher
- Improper surface preparation during the original paint job
- Low-quality paint that doesn’t hold up to daily wear
- Natural wear in high-traffic areas like handles and edges
Knowing what caused the damage helps you prevent future problems. If moisture is the culprit, you might need to address ventilation. If the original paint job was rushed, a simple touch-up might not hold either.
Gather Your Supplies First
Walking back and forth to the garage while paint dries on your brush is a recipe for disaster. Get everything ready before you start.
What you’ll need:
- Original paint (or a color-matched sample)
- Fine-grit sandpaper (220-grit works well)
- Tack cloth or microfiber rag
- Small artist brush or foam applicator
- Painter’s tape
- Drop cloth or old towels
- Denatured alcohol or TSP cleaner
- Optional: mini foam roller for larger areas
The most important item on this list is the original paint. If you don’t have leftover paint from when your cabinets were done, you’ll need to get a color match. Take a cabinet door (or a drawer front) to a paint store. They can scan it and create a matching formula. Keep in mind that paint fades over time, so even a perfect formula match might look slightly different on older cabinets.
Step-by-Step: How to Touch Up Cabinet Paint the Right Way
Step 1: Clean the Area
Grease, dust, and grime prevent paint from sticking. Wipe down the damaged area with denatured alcohol or a TSP solution. This removes the invisible film of kitchen grease that builds up on cabinet surfaces.
Let the area dry completely. Painting over a damp surface will cause adhesion problems down the road.
Step 2: Sand the Damaged Spot
Use 220-grit sandpaper to lightly scuff the chipped area and about a half-inch around it. You’re not trying to remove paint—just roughing up the surface so the new paint has something to grip.
Sand in the direction of the wood grain if your cabinets have a visible grain pattern. Wipe away the dust with a tack cloth.
Step 3: Apply Painter’s Tape (If Needed)
For touch-ups near hinges, glass inserts, or other areas you want to protect, apply painter’s tape. Press the edges down firmly to prevent paint from seeping underneath.
For small chips in the middle of a cabinet door, tape usually isn’t necessary.
Step 4: Load Your Brush Correctly
Dip only the tip of your brush into the paint—about a quarter inch. Tap off the excess on the side of the can. A loaded brush drips. A properly loaded brush glides.
If you’re using a foam applicator, the same rule applies. Less is more.
Step 5: Apply Thin Coats
This is where most DIY touch-ups go wrong. People try to fill the damaged area with one thick coat. Thick coats take forever to dry, sag, and leave visible edges.
Instead, apply a thin coat. It should look almost translucent when wet. Let it dry for 2-4 hours, then add another thin coat. Two or three thin coats will look far better than one thick one.
Step 6: Feather the Edges
As you apply paint, use light brush strokes to feather the edges into the surrounding area. This helps the touch-up blend rather than sitting on top like a patch.
Work from the center of the damaged area outward. Let your brush strokes get lighter as you move toward the edges.
Step 7: Let It Cure
Paint may feel dry to the touch in a few hours, but it takes much longer to fully harden. Most cabinet paints need 7-14 days to cure completely. During this time:
- Avoid scrubbing or cleaning the touched-up area
- Don’t let anything lean against the surface
- Keep the cabinet doors slightly open if possible to prevent sticking
Common Touch-Up Mistakes to Avoid
-
Using the wrong sheen. If your cabinets have a satin finish and you touch up with semi-gloss, the repair will stick out like a sore thumb—even if the color matches perfectly.
-
Skipping the sanding step. Paint needs a slightly rough surface to bond. Skip this step, and your touch-up will peel off within weeks.
-
Touching up in direct sunlight. Sunlight heats the surface and causes paint to dry too fast. This leads to brush marks and poor adhesion.
-
Applying paint too thick. We’ve said it before, but it’s worth repeating. Thin coats always beat thick coats.
-
Not stirring the paint. Pigments settle at the bottom of the can. If you don’t stir thoroughly, your touch-up color won’t match.
When a Touch-Up Won’t Work
Sometimes a touch-up isn’t the answer. Here’s when you’re better off considering a full cabinet refinish:
-
Widespread damage. If you have chips and scratches on most of your cabinet doors, touching up each one will take forever and look inconsistent.
-
Faded paint. Old paint fades from sunlight and cleaning. Even perfectly matched paint will stand out against faded surroundings.
-
Peeling or bubbling. These problems signal adhesion failure. Touching up over peeling paint just hides the problem temporarily.
-
You want a new color. Touch-ups only work with the same color. If you’re ready for a change, it’s time for a full refinish.
The Difference Between DIY and Professional Results
A careful homeowner can handle small chips and scratches. The techniques in this article work for minor damage in low-visibility areas.
But there’s a reason professional cabinet painting costs what it does. Pros have spray equipment that lays down a perfectly smooth finish. They have climate-controlled spaces for proper curing. They know which primers and paints perform best on different cabinet materials.
If your touch-ups keep failing, or if you’re facing damage that goes beyond a few small chips, a professional refinish might save you time and frustration in the long run.
Keep Your Cabinets Looking Fresh
Once you’ve completed your touch-up, a few simple habits will help your cabinets stay looking good:
- Wipe up spills and splatters quickly, especially near the stove
- Use gentle cleaners—avoid abrasive scrubbers
- Install soft-close hinges to reduce impact on cabinet doors
- Keep a small container of matching paint for future touch-ups
- Address new chips right away before they grow
Ready for a Flawless Cabinet Finish?
Small touch-ups work great for minor damage, but some cabinet problems need a professional solution. If your cabinets have seen better days—or if you simply want a finish that looks factory-fresh—the team at EAG Painting & Decoration Inc. can help.
We specialize in cabinet painting and refinishing that lasts. No brush marks. No mismatched patches. Just smooth, durable results you’ll love coming home to.
Call 510-851-8860 today for a free estimate. Let’s talk about what your cabinets could look like.


